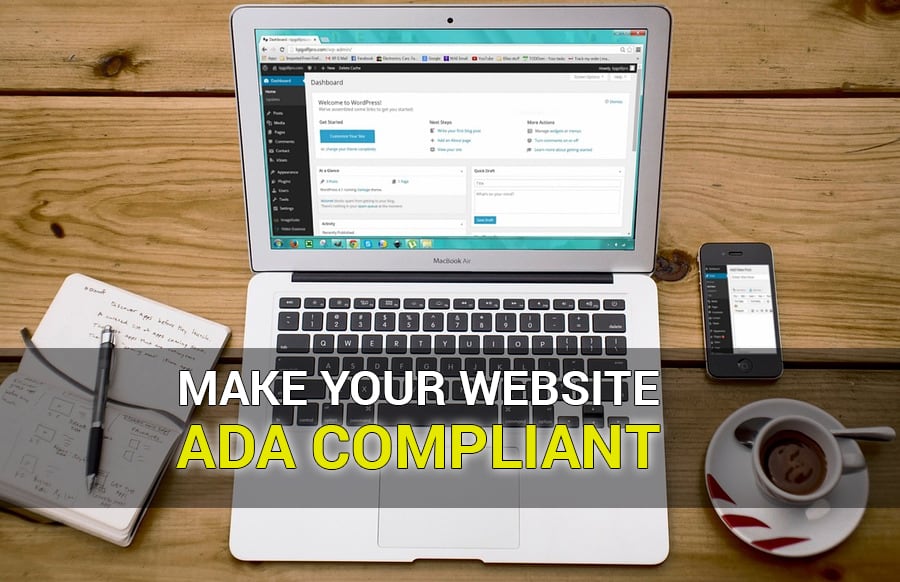
Help Make Your Website ADA Compliant with These 10 Steps
Most business owners are familiar with ADA (Americans with Disabilities Act) as it pertains to buildings and facilities. Handicapped parking, elevators and wheelchair accessible bathrooms are all part of complying with ADA regulations. What many business owners don’t know, however, is that commercial websites also fall under Title III of the ADA. Although not a physical entity, a business website must also be accessible to persons with disabilities.
Litigators looking for easy cases have been targeting businesses (and winning) because their websites were not ADA Compliant. In fact, web-related ADA lawsuits rose by 181% in 2018.
Follow MorePro’s 10 Steps to Help Make Your Website ADA Complaint to guard against serial litigators looking for a quick way to make money.
What This Means to You
The ADA states, “Accessible website design does not require people to see, hear, or use a standard mouse in order to access the information and services provided.” However, the ADA has not released a specific checklist for businesses to follow. Like most digital marketing and website development companies, we use the Web Content Accessibility Guidelines developed by W3C (World Wide Web Consortium) – the world’s leading authority on web standards – as our guide.
Although this article doesn’t constitute legal advice, our research shows that these are the most critical steps every business should take and we are instating these for our own clients.
Create Your Compliancy Plan and Take Action
Lawsuits are costly but getting started on making your website compliant doesn’t need to be. Be proactive and create a plan that includes these 10 Steps. Most of these require HTML knowledge. If you feel comfortable getting into the code of your site, you could do these on your own. However, it may be better to hire a professional who is more experienced and efficient.
- Write and Post an Accessibility Document – This document outlines your compliancy plan and shows potential litigators you are actively modifying your website. It should include the steps you are taking now, along with a timeframe for when other steps will be completed. Be realistic about the timeframe but be aggressive as well. The longer your website hangs out there without compliance, the more likely you are to be targeted. Here’s a link to a free compliancy document generator: Click here for a free compliancy document generator.
- Write Descriptions for All Photos – Every photo on your website should have a few words or sentence describing it. This allows Screen Reading Technology and other devices to “read” the photo for those who are visually impaired. The description is called “Alternative Text” or “Alt Text” and placed in the coding of your website. Remember to also use SEO strategies in describing the Photo, Example: Instead of “Photo of our Team” you may want to add “Photo of our Design Team, Scranton NY”.
- Identify the site’s language in header code – This does a few things such as assisting braille translation software and speech synthesizers. For example, it helps synthesizers “orient and adapt to the pronunciation and syntax that are specific to the language of the page, speaking the text in the appropriate accent with proper pronunciation.” (source: www.w3.org)
- Add Labels to Form Fields – When you have forms on your website such as a Contact Us form, each field should be labeled in the code. The labels describe the purpose of the field using the <label> tag. This is done so assistive technology can read the purpose of the field, therefore telling the user what should be entered.
- Adjust Color Contrast – The text on the page and background should not blend. It’s obvious that yellow words should not be placed on a white background, but some color combinations may be more difficult for those with visual impairments. For example, blue/grey, green/grey, and green/black should be avoided.
- Check Button Design – Buttons should be large enough, use the right color combinations (see #5) and be spaced away from other items. People that have reduced dexterity may have trouble clicking buttons that are too small or close together.
- Make Sure You Can Navigate Without a Mouse – Some people cannot use a mouse and must use a keyboard exclusively to navigate a website. You’ll want the content and elements on a page to be accessible with the tab button, and don’t include functionality that’s only available through a mouse hover.
- Closed Caption (CC) for Audio/Video – In order for audio and video content to be accessible for hearing and visually impaired people, Videos and Audios on your site should include CC. This can obviously be a time-consuming endeavor but there are online services that provide transcription or use YouTube CC service which makes a good guess as to what is being said then you only need to edit. Even if you have Video without a voice over add a continuous CC that explains what the video is about, and company Information (see #2). Your web vendor may provide some help on this as well.
- Fix Empty Links – A link must include standard text for it to be accessible for a screen reader. It should also describe what the link will do. A link should not say “Click here” because a screen reader will show there is a link, but the user will have no idea what happens when the link is opened.
- Fix Redundant Links – You shouldn’t have multiple links on a page for the same purpose because it’s confusing for screen readers. For example, if you have a lodging website and there is an image of cabin (that links to a cabins page) and a title under the image (that also links to a cabins page), you need to remove one of those links.
MorePro Marketing ADA Compliance Solutions
If you need an expert to handle ADA compliance for you, trust MorePro Marketing. We have a 20-year track record of improving digital marketing efforts for both large and small businesses. To help our clients and other businesses meet ADA guidelines, we have developed three website ADA compliancy solutions* – Standard, Advance and Custom.
Choose the one that best fits your needs. We’ll perform the work quickly and effectively.
Contact Us to get started before your website is targeted.
* The Standard and Advanced packages apply to WordPress websites only, if your site is not built using WordPress then talk to us about our custom package.


